Best Monitor for Photo Editing Under 500 – Buying Guide
Finding the best monitor for photo editing under 500 dollars is no small task, which is why we’ve made it much easier for you with this in-depth buying guide. Having one of the best monitors for photo editing is vital for professional or amateurs to produce excellent shots – because great photos aren’t made solely in the camera.
You can edit on anything, but if you want to work with precision and accuracy, a monitor built with photo editing in mind will help you reach the high standards you’ve probably set for yourself. They give you color accuracy, crucially, but also will be designed to give you even and uniform levels of brightness across the whole screen, so you can make sure your contrast is perfect.
And as you step up to the next level, you may be looking to work in different color spaces for different projects, and the best monitors for photo editing will make this easy, and may include their own calibration options.
We already mentioned even lighting, but they’ll also need to be a good brightness level overall while doing it, to ensure that you can see highlights and contrast with realism.
Let’s go over what is photo editing, and what to look for in a monitor for photo editing.
What is Photo Editing?
Photo editing encompasses the processes of altering images, whether they are digital photographs, traditional photo-chemical photographs, or illustrations. Traditional analog photo editing is known as photo retouching, using tools such as an airbrush to modify photographs or editing illustrations with any traditional art medium. Graphic software programs, which can be broadly grouped into vector graphics editors, raster graphics editors, and 3D modelers, are the primary tools with which a user may manipulate, enhance, and transform images. Many photo editing programs are also used to render or create computer art from scratch.
Basics of Photo Editing
Raster images are stored in a computer in the form of a grid of picture elements, or pixels. These pixels contain the image’s color and brightness information. Image editors can change the pixels to enhance the image in many ways. The pixels can be changed as a group, or individually, by the sophisticated algorithms within the image editors. This article mostly refers to bitmap graphics editors, which are often used to alter photographs and other raster graphics. However, vector graphics software, such as Adobe Illustrator, CorelDRAW, Xara Designer Pro or Inkscape, are used to create and modify vector images, which are stored as descriptions of lines, Bézier curves, and text instead of pixels. It is easier to rasterize a vector image than to vectorize a raster image; how to go about vectorizing a raster image is the focus of much research in the field of computer vision. Vector images can be modified more easily because they contain descriptions of the shapes for easy rearrangement. They are also scalable, being rasterizable at any resolution.
Automatic image enhancement
Camera or computer image editing programs often offer basic automatic image enhancement features that correct color hue and brightness imbalances as well as other image editing features, such as red eye removal, sharpness adjustments, zoom features and automatic cropping. These are called automatic because generally they happen without user interaction or are offered with one click of a button or mouse button or by selecting an option from a menu. Additionally, some automatic editing features offer a combination of editing actions with little or no user interaction.
Digital data compression
Many image file formats use data compression to reduce file size and save storage space. Digital compression of images may take place in the camera, or can be done in the computer with the image editor. When images are stored in JPEG format, compression has already taken place. Both cameras and computer programs allow the user to set the level of compression.
Some compression algorithms, such as those used in PNG file format, are lossless, which means no information is lost when the file is saved. By contrast, the more popular JPEG file format uses a lossy compression algorithm (based on discrete cosine transform coding) by which the greater the compression, the more information is lost, ultimately reducing image quality or detail that can not be restored. JPEG uses knowledge of the way the human brain and eyes perceive color to make this loss of detail less noticeable.
What to Look for in a Monitor for Photo Editing
Serious photo editors want a display that not only brings an optimal level of performance but also includes a high resolution. In today’s world of wireless connections, a good display is properly wired with the newest routes for connectivity. After all, the world runs on the ability to remain connected and linked. When it comes to purchasing the right monitor, a serious photo editor knows that there’s more to it than simple numbers.
As with all other technology, purchasing a monitor requires you to do some background reading. While there are quite a few selections out there, unless you know the exact specifications, you might end up purchasing an LCD that doesn’t present your work with justice.
The following provides you with a list of things you want to consider before finalizing on any monitor purchases.
Gray-Scale and Color Accuracy
Photo editors need colors that will match the on-screen display with as much precision as its print out. This necessitates a monitor that can display a good accuracy of the colors being used. For this, color accuracy and consistency are essential.
Some of the finest monitors come with in-built blue light filters. The blue light that is emitted by fluorescent and LED lights is considered the worst type of light for our eyes so a blue light filter works miracles for our eyes in the long run.
This is where your hunt begins for a model that uses top-notch technology like the AH-IPS panel. For those who are hearing it for the first time, it’s an Advanced High-performance In-Plane Switching panel. In order to be able to perform regular calibrations, the monitor should cover well over 99 percent of the Adobe RGB color area. (The term color gamut may also come up.) It’s best if the monitor has a 10-, 12- or 14-bit lookup table (LUT) so that you can perform regular calibrations with ease.
When it comes to color consistency, fortunately, there are many professional monitors in the market that feature software and hardware calibration tools. You can opt to purchase a third party calibration solution if you aren’t satisfied with the options. A monitor that has an efficient IPS panel can display different shades of dark and light gray, this helps determine the level of shadow and highlight you will see on your screen.
Another huge advantage of using the IPS technology is the fact that it provides you the option of wide viewing angles of excellent color luminosity and fidelity, whether viewed from the top, bottom or any other sides.
Screen Size
For some photo editors, screen size is not a factor. However, those working with high-resolution image files that contain great detail, size does matter.
Office size is, of course, a matter of concern, especially if multiple screens are needed. Those working on several projects at once would prefer utilizing maximum space of the screen so that a number of projects can be viewed on the same screen. If you are looking to minimize the space your screen takes up but want the luxury of viewing several projects at a glance, opt for 29-inch WQHD monitors that are ultra-wide.
However, it’s important you keep in mind that bigger doesn’t always mean better. Don’t sacrifice your monitor’s display performance just to get a bigger screen. If you intend to play games or watch movies, just go for a TV rather than a monitor.
Panels
Many may not know this, but the panel actually determines how good your photo editing monitor actually is. There are a few types of panels in the market, they are as follows:
- Twisted Nematic or TN panels – These are the cheapest ones and the most available due to their affordable prices. This type has the fastest response time but response time shouldn’t be the highest priority for a designer when working. The colors and viewing angles are actually not all that great on this panel; this will distort the appearance of your designs.
- Vertical Alignment or VA panels – Even though not as popular as other options, this panel type is a midrange choice. VA panels are significantly more expensive than the TN ones. Performance-wise, they aren’t worth it in terms of price. Even though they have features that are better than the TN panels, the price range is almost as much as the next type of panels, making it a better choice to go for the IPS monitors.
- In-Plane Switching or IPS monitors – These are possibly the best choice for price versus performance. They are typically higher in price than VA panels, but the difference in performance makes it worth it. With IPS monitors, you will get great viewing angles and accurate color rendition.
- Super IPS panels – The objective of this panel was to get a faster response time sided with a better color rendition while keeping the price low. Many users opt for this panel due to its friendly pricing combined with good specifications.
Resolution
Pixel resolution is a huge must-have for a photo editor. When it comes to resolution, the greater it is, the better it is. This is especially true for work that is comprehensive or meticulous. High-resolution photo editing monitors will cost you considerably more than Full HD monitors. However, they are worth it in the long run if visual fidelity is a top priority.
Ultra-High-Definition or UHD monitors offer some of the highest possible resolutions, standing at 3,840 x 2,160 pixels. Then you have the Wide-Quad HD or WQHD, which stands at 2,560 x 2,160 pixels, trailed by Wide-Quad HD (WQHD), standing at 2,560 x 1,440 pixels.
Adjustability
It’s more than likely that you’ll be spending a significant amount of your time glued to the photo editing monitor as you try to chalk out the best of your work. Therefore, it’s best to go with a model that comes with an ergonomic stand. The ergonomic stand will allow you to modify the height as well as rotate the panel for the best viewing options. A stand that allows you to turn the screen a good 90 degrees is more convenient than a screen that only shifts halfway. The times you work with lengthy documents or extensive websites truly tell just how handy a pivoting screen can be.
As for ports that allow you to plug in thumb drives or to charge your phones, these ports should be placed beside the cabinet, making for easy reach. A card reader slot may also come in handy, especially if you end up having to upload files and your desktop is located underneath your desk.
I/O Connections
Preferably, your photo editing monitor display should have DisplayPort 1.2, dual-link DVI ports, and HDMI. If you need to connect multiple monitors, you’ll want a model that has Thunderbolt-in and -out ports or a DisplayPort 1.2.
Price
Irrelevant to the nature of the product, the cost is a primary factor before any purchase. When you compare prices for high-end monitors in the market, it’s difficult to avoid putting in a good amount of money to purchase a monitor fit for the job.
You can easily spend a few thousand bucks, anywhere starting from $300 to $2000 for a 27-inch WQHD or 4K display, to $3,000 or more for a 32-inch UHD monitor, and $200 and up for a 24-inch model.
Keep in mind that with photo editing work, you want the best color performance that will do justice to your work. So, it’s best not to go for something less than optimal simply to save some money. Investment on this front will pay off in the long run.
- Best Monitor for Photo Editing Under 500 – Buying Guide
- What is Photo Editing?
- What to Look for in a Monitor for Photo Editing
- Best Monitor for Photo Editing Under 500 – Quick List
- Best Monitor for Photo Editing Under 500 – Reviews
- Philips 272P7VUBNB – Best Overall
- ViewSonic VP2768 – Best ViewSonic
- ASUS ProArt PA278QV – Best ASUS
- BenQ PD2700Q – Best BenQ
- LG 27UK850-W – Best LG
- FAQs
- Related Articles
Best Monitor for Photo Editing Under 500 – Quick List
- Philips 272P7VUBNB – Best Overall
- ViewSonic VP2768 – Best ViewSonic
- ASUS ProArt PA278QV – Best ASUS
- BenQ PD2700Q – Best BenQ
- LG 27UK850-W – Best LG
Best Monitor for Photo Editing Under 500 – Reviews
Philips 272P7VUBNB – Best Overall
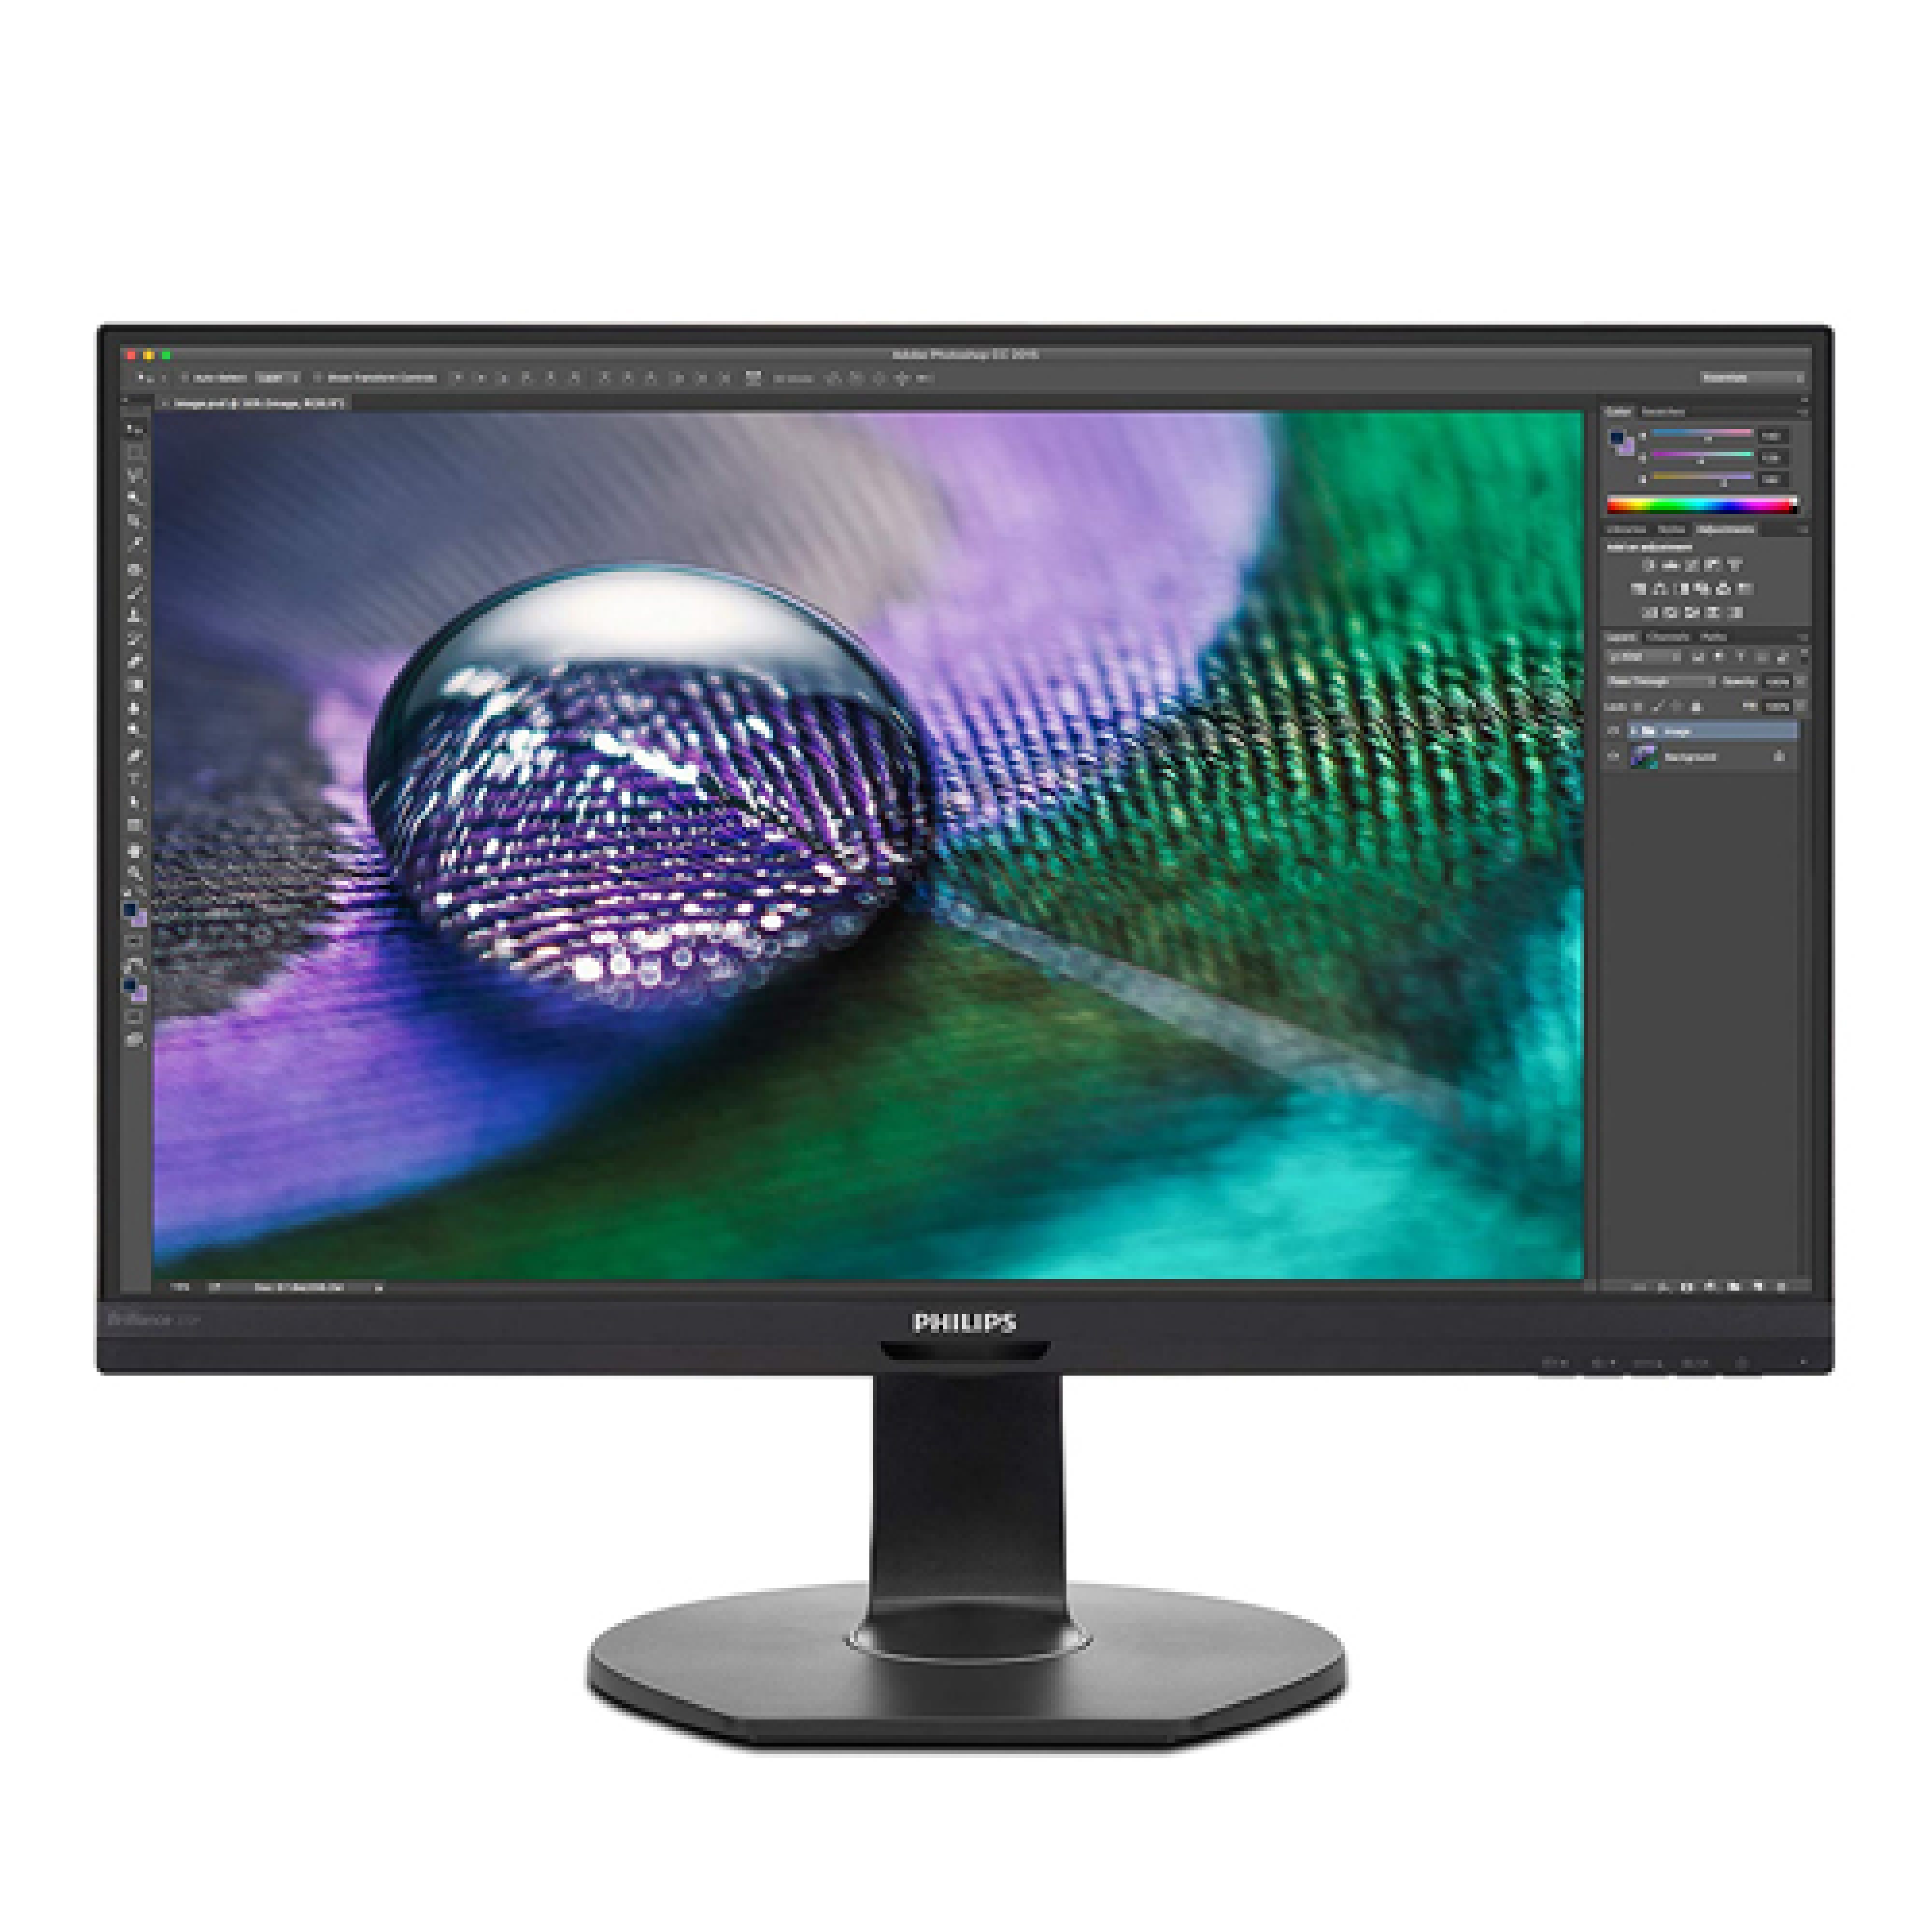
The Philips 272P7VUBNB is a stunning 4K display that was made to master photo editing. You’ll see every minute detail in UHD, and accurately display every color with 122% sRGB & 103% NTSC color gamut coverage. You can quickly transfer files and charge your devices with the integrated USB type C hub.

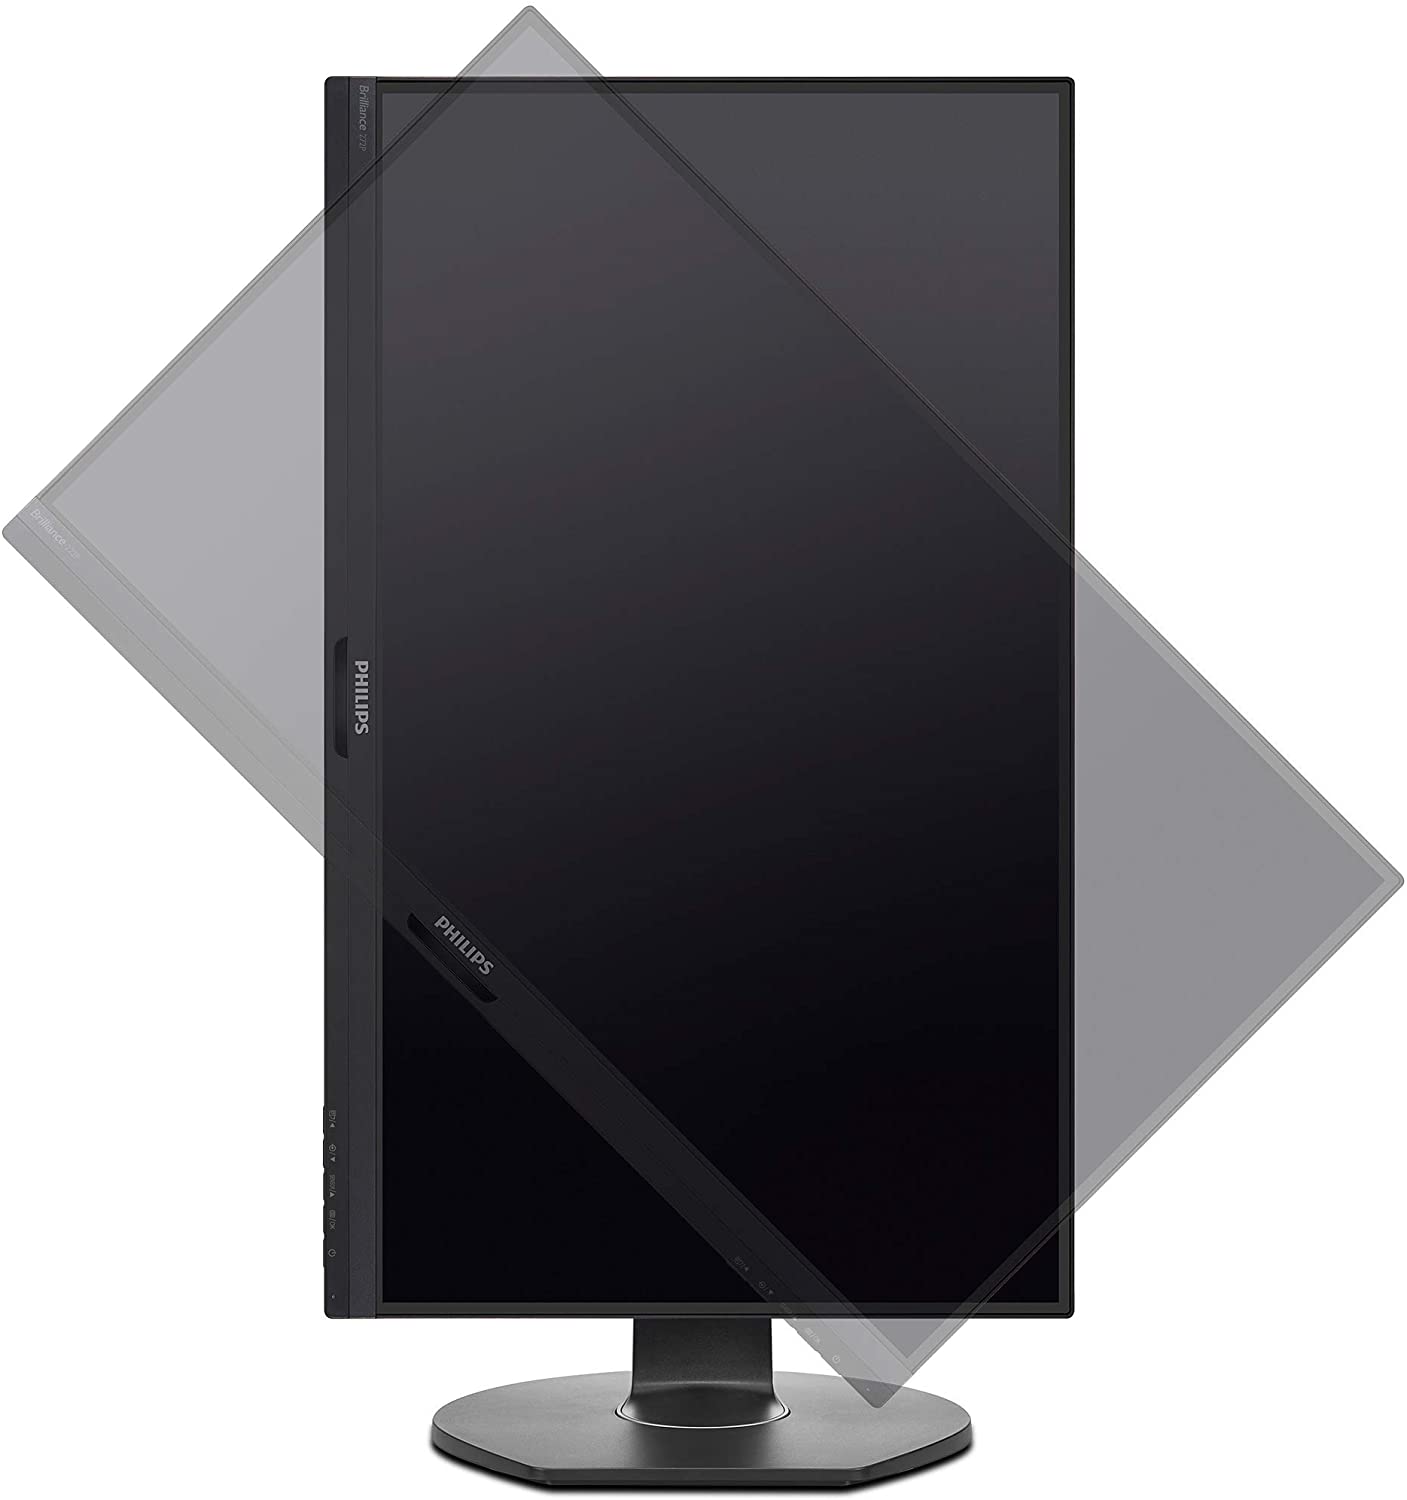
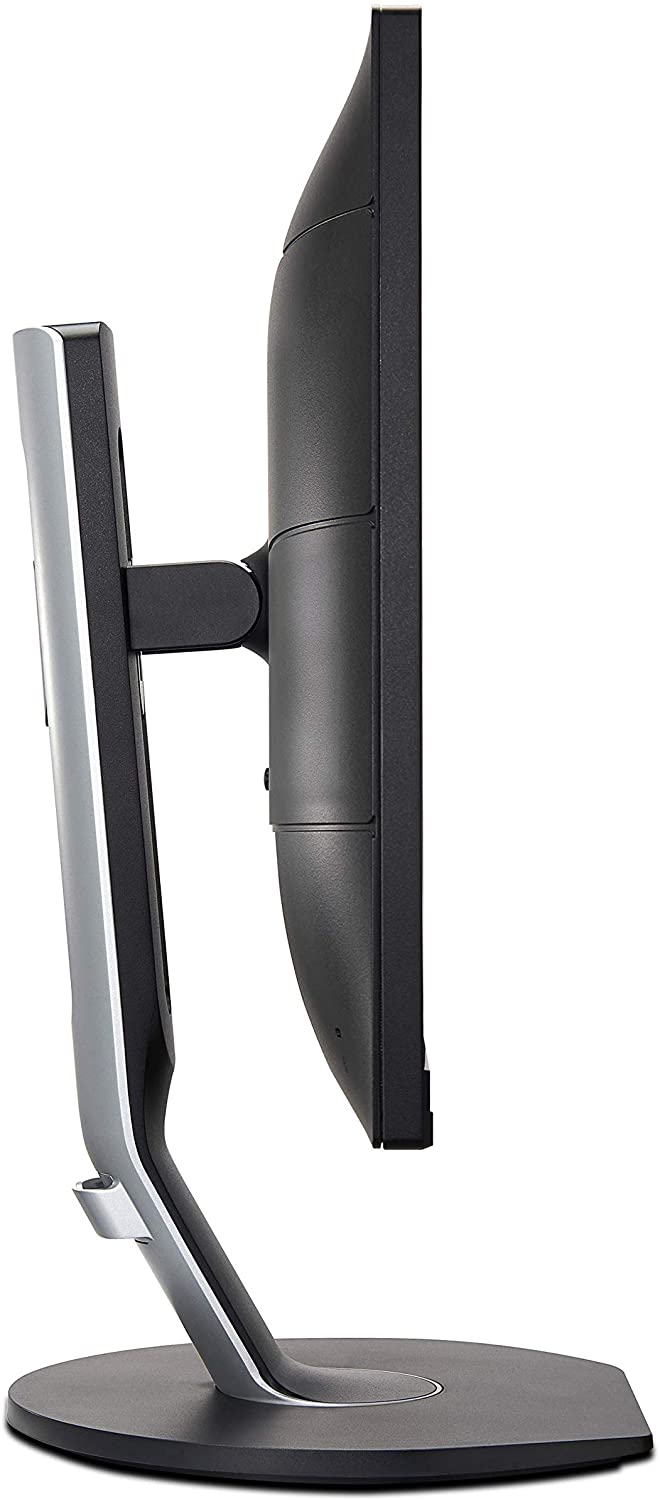
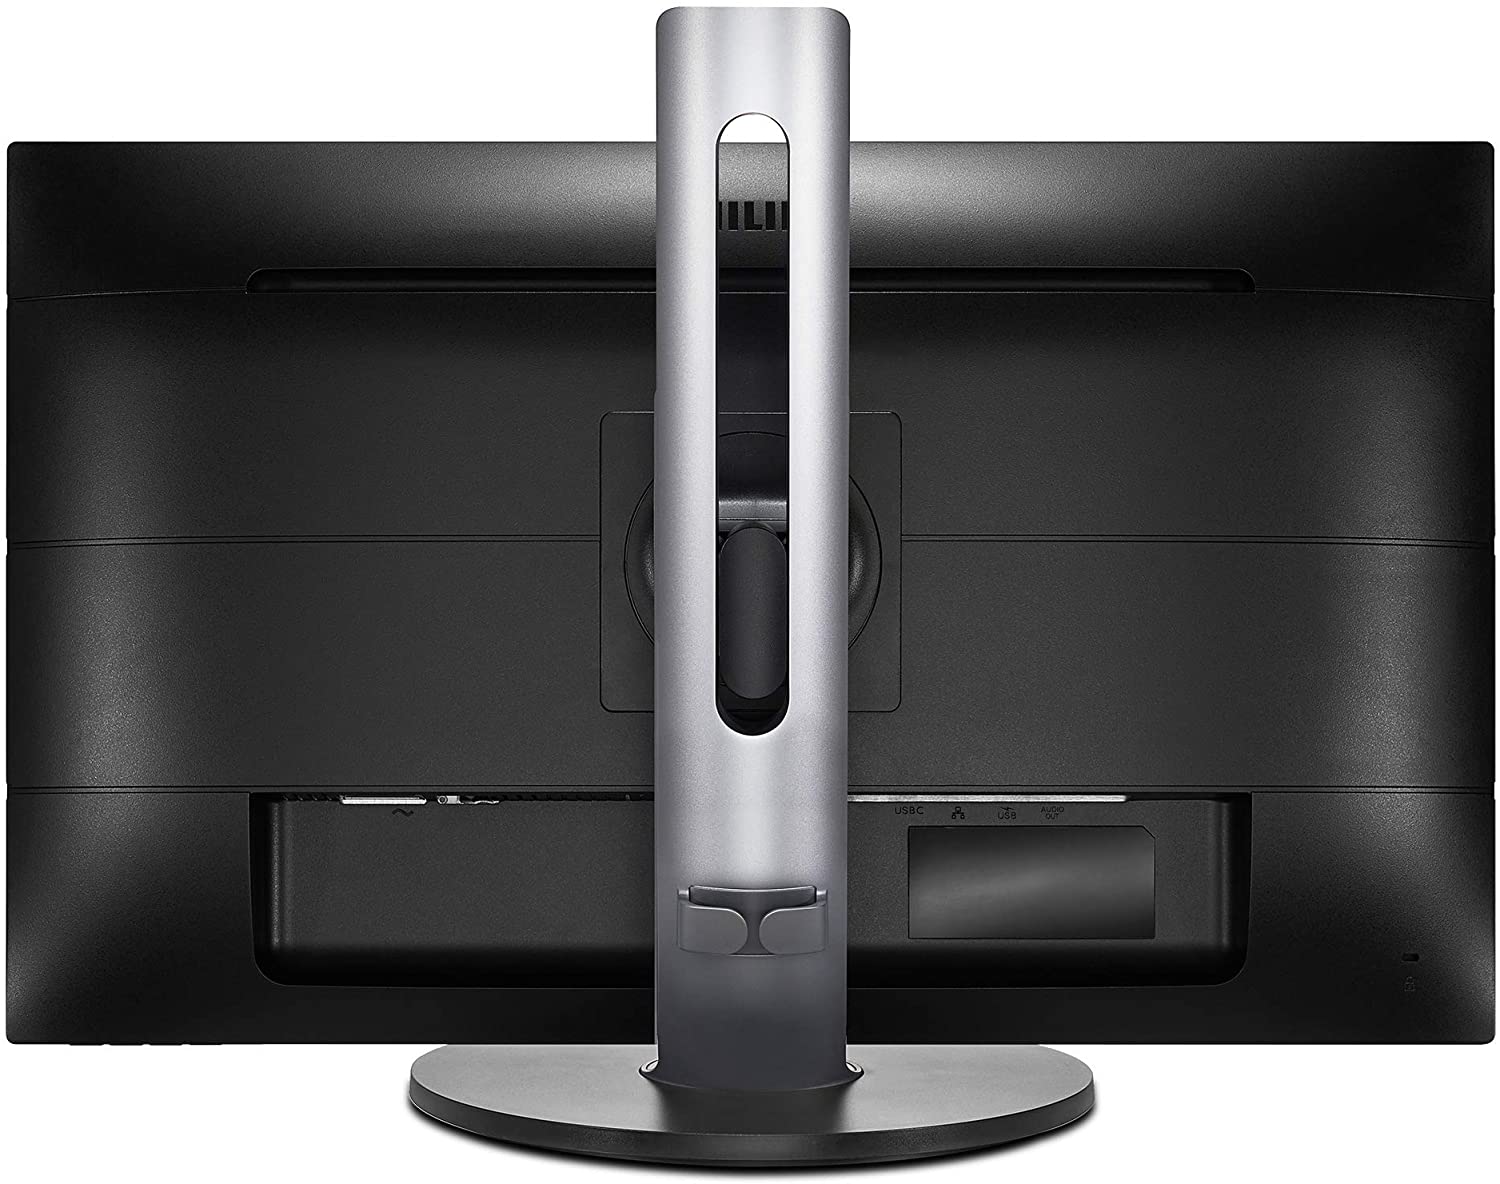
The highly adjustable stand is a marvel in itself. It can be positioned just about any way you want it, including rotating the entire screen from landscape to portrait.
ViewSonic VP2768 – Best ViewSonic
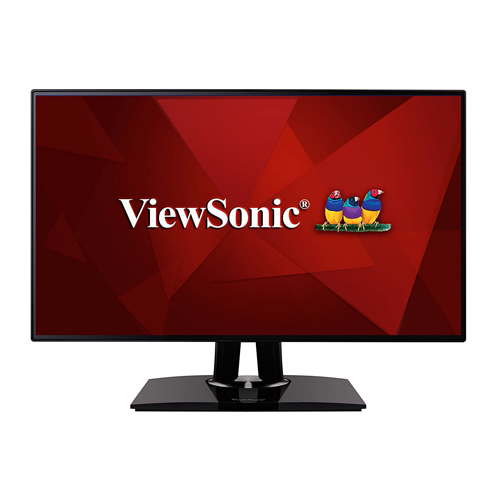
The ViewSonic VP2768 is another high-end monitor for photo editing, that specializes in color range. This is because of the 100% sRGB, Rec 709, 14-bit 3D LUT color palette, which produces a staggering 4.39 trillion colors. The stylish stand allows you to swivel, pivot, tilt, adjust the height, and physically switch from horizontal landscape mode to vertical portrait mode.
We currently recommend the 27 inch model, but it’s available in 24 inches, 27 inches, and 32 inches.
ASUS ProArt PA278QV – Best ASUS
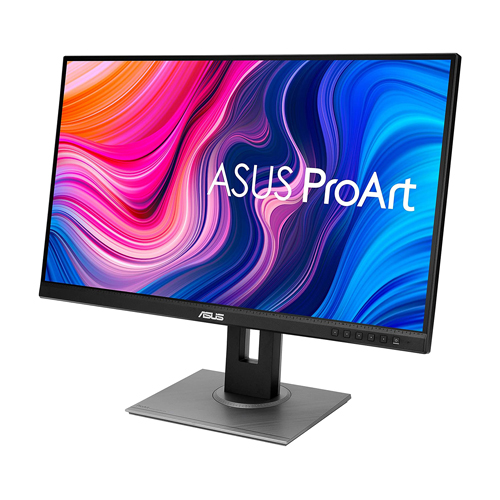
The competes very well with the Philips and ViewSonic, but it’s a little lower priced. It has full support for Rec.709, sRGB 100% and AdobeRGB 99.5% color spaces. It does feature proper 10-bit color depth, with a 14-bit color look-up table. There are plenty of ports to connect your devices. With a three-port USB 3 hub, four HDMI inputs, and two DisplayPort inputs. It also has full tilt, swivel, and rotate capabilities.
BenQ PD2700Q – Best BenQ
The is another affordable color-accurate monitor for photo editing, similar to the ASUS. It features a high resolution QHD display that uses the same 14-bit look-up table and offering the same 99% AdobeRGB coverage.
LG 27UK850-W – Best LG

The LG 27UK850-W actually has a lot of similarities to our Best Overall pick. It has a 27 inch, 4K screen, with an impressive sRGB coverage of 99%. There’s also the usb-c connectivity. The LG 27UK850-W stands apart as somewhat more of a multi-purpose monitor. With the additional inclusion of features geared for streaming and gaming. Which includes HDR10, AMD Freesync, and solid refresh rates and response time. But don’t be mistaken, the LG is no slouch with design.
FAQs
Which Monitor is Best for Photo Editors?
How Do I Choose a Photo Editing Monitor?
Are Gaming Monitors Good for Photo Editing?
Do Photo Editors Need a 4K Monitor?
Related Articles
- Best Monitor Under 150 Dollars
- Best Monitor Under $300
- Best Monitor Under $500
- Best Monitor for Color Grading 2021
- Best IPS Monitor Under $200
- 24 inch Monitor Best of 2023
- 27 inch Monitor Best of 2023
- 32 inch Monitor Best of 2023
- Best 27 inch Monitor Under $300
- Best 27 inch Monitor Under $200
- Dell 27 inch Monitor Best of 2023
- Best Vertical Monitor 2023
- Best Bezel Less Monitor 2023
- Best Ultrawide Monitor 2023
- Best Curved Monitor 2023
- Monitor with Speakers Best of 2023
- 2K Monitor Best of 2023
- Best 120Hz Monitor 2023
- Best Monitor for Photo Editing Under 500
- Best Budget Monitor for Graphic Design 2023
- Best Monitor for Programming 2023
- Best Monitor for Watching Movies 2023
- LG Monitor Best of 2023
- ViewSonic Monitor Best of 2023
- Best HP Monitor 2023
- BenQ Monitor Best of 2023
- Sceptre Monitor Best of 2023
- Best MSI Monitor 2023
- ASUS Gaming Monitor Best of 2023
- Best Triple Monitor Stand
- Best Dual Monitor Stand
- Best Standing Desk 2024
- Best Standing Desk Converter 2022
- Best Standing Desk Mat 2023
- Best Corner Computer Desk 2024
- Best Office Chair 2023
- Best Budget Office Chair 2023
- Best Big and Tall Office Chair 2023
- Best Mouse for Photoshop 2023
- Best Noise Cancelling Headphones Under $200
- Best Desktop Replacement Laptop 2022
- Best 2 in 1 Laptops Under $300
- Best 2 in 1 Laptops Under $600
- Best Laptop Under $400
- Best Laptop Under $600
- Best Laptop for Streaming 2021
- Best Laptop for Web Design and Development 2023
- Best Drawing Tablet 2023
- Best Mesh WiFi System 2023